Cracks are objectionable in concrete for several reasons. When concrete moves, it often cracks. The size of the crack depends on the amount of movement. Sometimes water leakage comes through cracks or joints. While the crack itself may or may not be a problem, water leakage can be much larger problems than the crack itself.
Freeze-thaw damage, corrosion, structural weakness, and even failure can all be traced to cracks and water. Thus, in spite of the best efforts of the architect, engineer, and contractor, structures will sometimes move in unanticipated places, and cracks will appear. The injection of resin into concrete is then performed to accomplish one of two purposes:
1. Restore structural strength
2. Stop water leakage
Water leakage through cracks of underground structure.
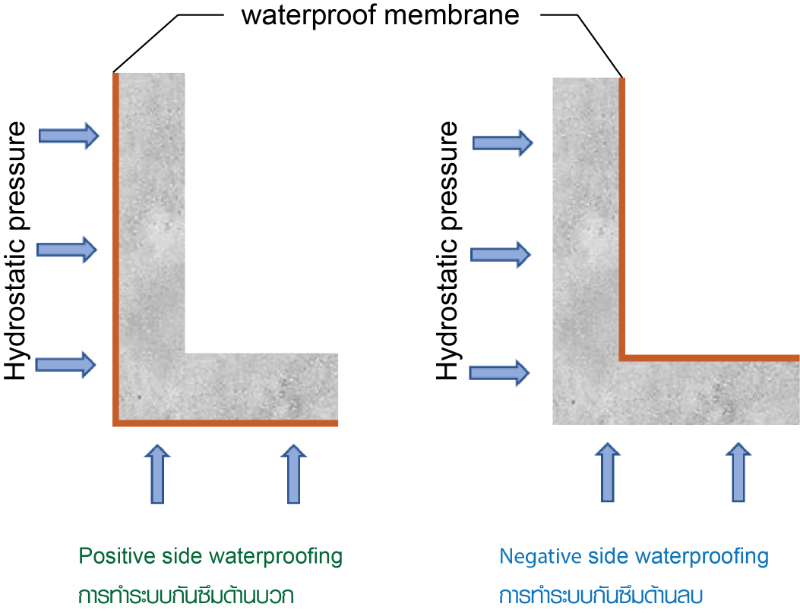
This article will focus mainly on the method of stopping water leakage by polyurethane injection. In water control work, the side of the structure where the hydrostatic load originates is called the positive side. In most cases this positive side will also be the soil side. Any water control material has a much higher probability of success when placed on the positive side because it then has the original structure for support.
Almost all access to a water leakage problem, however, will be from the negative side. Water control materials which are surface-applied on the negative side have a strong potential for failure, and some invariably fail soon after application. Their effectiveness depends mostly on their bond strength to the substrate and their tensile and elongation capability. Primary mechanisms for their failure are bond release, breach by elongation-to-break due to structure movement, or “cold-flow” of the coating under hydrostatic load.
When leakage occur, repairing from positive side most of the time is not accessible. Resin injection procedures, then, arise from the need to work on the negative side and yet place water-stop materials on the positive side.
With the problem of small size, movement, active leakage, dampness, and debris in the crack to be sealed, an engineer or contractor might well pause to consider the characteristics he should expect in the sealant he chooses. To function as a water-stop material, an ideal injection would:
1. Be thin enough to penetrate small cracks
2. Set quickly
3. Bond to wet surfaces
4. Work in and under water
5. Possess good elastic strength
Because the above criteria, polyurethane is the ideal and widely used material for crack sealing and stop water leakage. Polyurethane grouts are designed to react with water and expand in-place, forming a tight, impermeable, elastomeric seal that immediately stops the flow of water. Polyurethane seals in three ways:
1. It forms a chemical bond to the concrete surface area.
2. It forms a mechanical anchor by entering the pores and voids.
3. By expanding, it forms a compression seal within the crack, joint, or void to act as a waterstop.
Polyurethane chemical grouts consist of a polyurethane resin that reacts with water to form an expansive, closed-cell foam. It is available in both two component and single component types.
Polyurethane chemical grouts may be used to treat cracks that are 0.1 mm. and greater in width. And it is their ability to stop active leaks that makes them particularly well suited for tanks for the storage of liquids, dams, tunnels, sewers, and other water-containment structures.
CLEVCON’s PURFOAM is a water-activated hydrophobic polyurethane injection grout designed to stop water leakages. Once contact with water, it forms an expansive, semi-flexible closed-cell polyurethane foam that seals water leakage through cracks or joints. The free expansion can be to 30 times the original volume. Since water is not a component of the foam structure, the cured material is essentially not affected by water or dryness. The reacted material does not shrink or swell. PURFOAM consists of two components: the resin (A) and the accelerator (B). Therefore, the reaction time can be adapted by adjusting the amount of accelerator.
PURFOAM after expansion
Injection process
Step 1: Examine the cracks
All surfaces must be free from oil, grease, dirt and poorly adhering matter. Examination of the crack after cleaning tells the technician where the crack goes and how wide it is. The crack must also be seen clearly in order to lay out the drilling pattern for the injection holes.
Step 2 Drill the injection holes
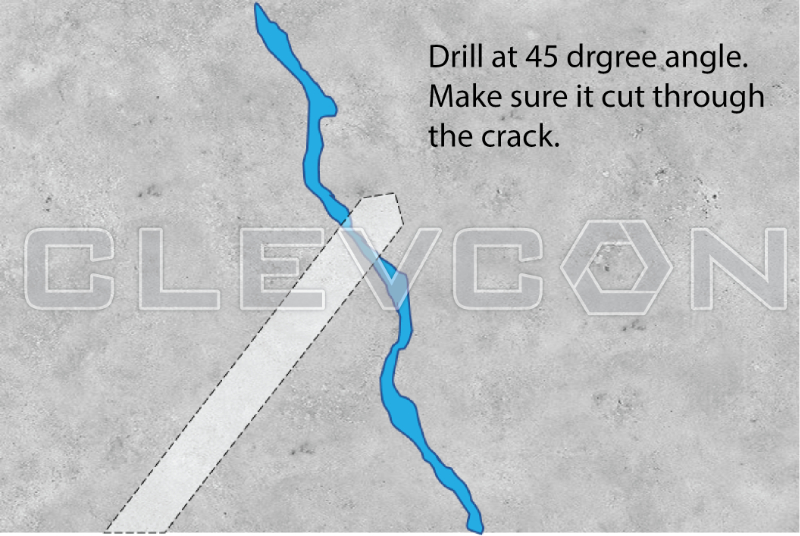
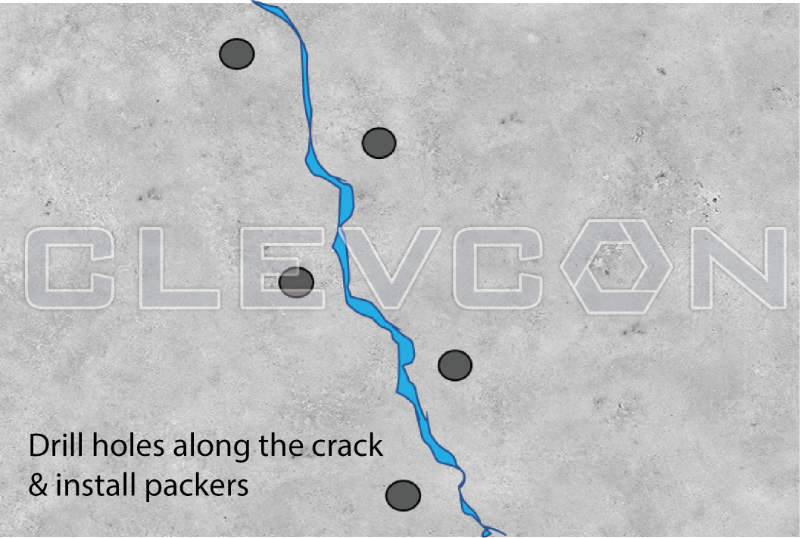
The standard sizes of packer are 10 mm and 13mm. The diameter of drill hole is normally the same size as packer. The angle of drilling is approximately 45° to the surface and the depth of the hole will be ½ the thickness of the concrete up to about 45 centimeters. Ports deeper than 45 centimeters are usually not required even if the concrete being repaired is more than 90 centimeters thick as long as adequate pumping pressure is available.
If the concrete thickness is 15 centimeters or less, however do not attempt angle drilling; set these ports straight into the face of the crack. This procedure will help minimize spalling in this concrete section.
Experience helps in deciding how far apart to drill the injection ports. Of course, as the crack gets wider, the space between holes can increase. Generally, a minimum of 8 inches and a maximum of 24 inches will be most common. Holes should always be staggered from one side of the crack to the other.
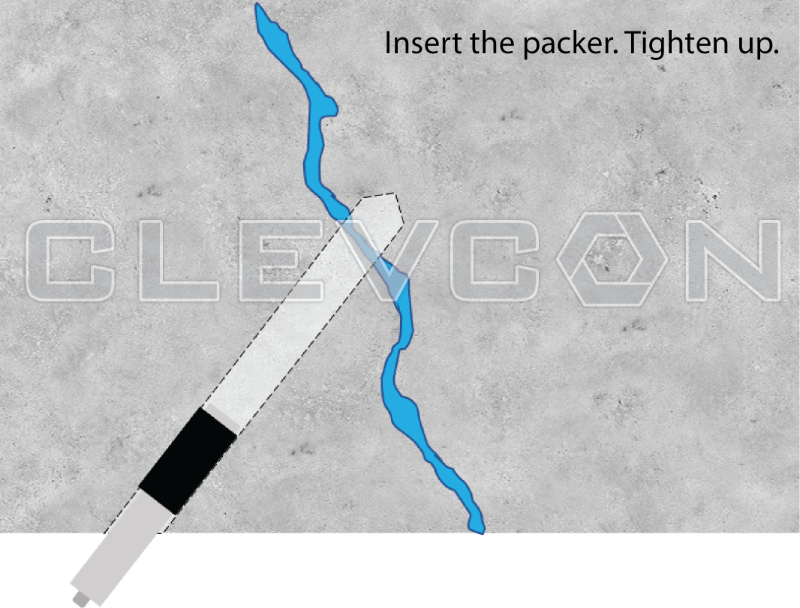
Place the injector in the drilled hole so that the top of the sleeve is just below the concrete surface. Tighten by hand until snug. Then tighten further with a ratchet and socket or open end wrench as tightly as possible.
Step 4: PURFOAM Injection
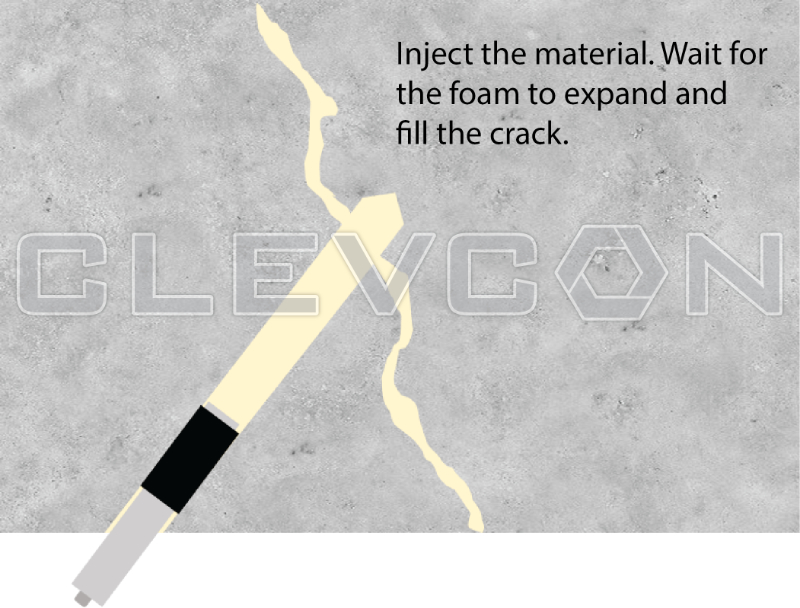
Add the accelerator into the resin and mix well together. The amount of accelerator depends on the amount of water leakage and temperature. When all preparation work is completed, pour the mixed material into injection pump and connect the hose to the installed injectors. Begin the injection of PURFOAM at the lowest injector on a vertical crack. Hold pressure constant for a while. If flow still does not occur, raise the pressure slowly in 5-6 bars increments. Note that sudden applications of high pressure may help propagate the crack.
Stop the pump when the foam flows out and reaches the portion of the crack adjacent to the next injector, move up, and begin pumping again. Continue in this fashion until the crack is completely filled.
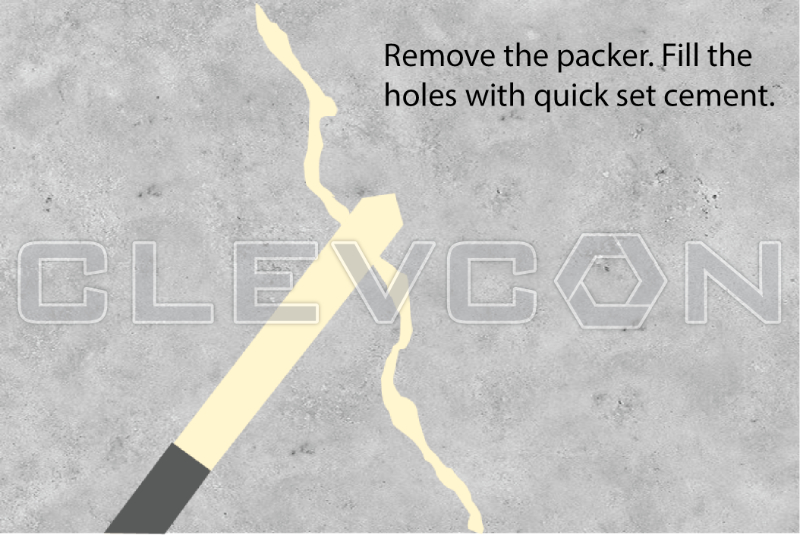
Tools and equipment must be cleaned with solvent immediately after use. Packers can be removed within one or two hour and the holes should be patched with quick-setting cement (EZ PLUG).
![Clevcon [Thailand] Co., Ltd.](https://clevconbk.devonlinesite.com/wp-content/uploads/2020/09/logo-clev-4.png)


